Lots of new pastel videos – how to create a blurred background in pastel
September 30, 2019 Leave a comment
I have LOTS of new pastel and oil videos on m YouTube channel
This is the latest
how to create a blurred / Bokeh pastel background
How to draw and paint animals and fur, wildlife art, pastel pencil and oil painting Lesson Videos, paintings and prints
May 26, 2019 Leave a comment
In this short lesson I show you how i use a layering technique to paint a dramatic bird of prey using oil paints
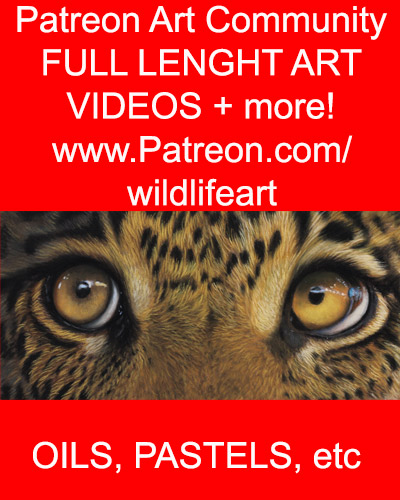
full video on my Patreon wildlife art channel – www.patreon.com/wildlifeart
May 26, 2019 Leave a comment
In this Pastel Pet Portrait demo i show you how i use PanPastel colours to create a quick and easy underpainting.
October 7, 2018 Leave a comment
this is a preview of my long video on my Patreon art channel.
If you want to learn how to draw / paint detailed grass in pastels then this video is for you 🙂
September 16, 2018 Leave a comment
there is a link here to all of them and more – http://www.wildlifeart-online.com/my-art-supplies-jacksons-art-store/

August 14, 2018 Leave a comment
Drawing a human eye – colored pencils – PASTEL
part 2 of my video –
August 12, 2018 Leave a comment
in this video series I show you how to draw a realistic human eye using pastels – both soft (Panpastels etc) and also pastel pencils.
unfortunately I lost a lot of video footage in the middle of the sequence.
July 5, 2018 Leave a comment
how to paint / draw fur using pastels
This 30 min + video shows How I create realistic fur in pastels – I use a variety of panpastel , soft pastel and pastel pencils for the effect
April 8, 2018 Leave a comment
new short video – drawing flowers with pastel pencils – out now – full version on my patreon art channel
April 8, 2018 Leave a comment
how to draw a bird / feathers with pastels